| The modern automobile drum brake was a major advancement
when in invented in 1902 by Louis Renault. In the mid 30's
they progressed to being operated by hydraulic pressure as they
have been operated since. Pulling ahead to 2007, drum
brakes and asbestos lined shoes just won't cut it.
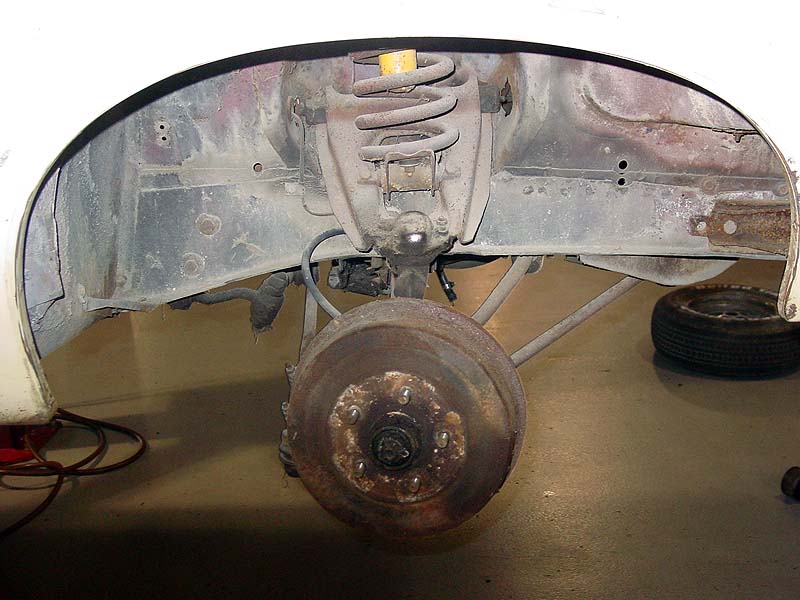
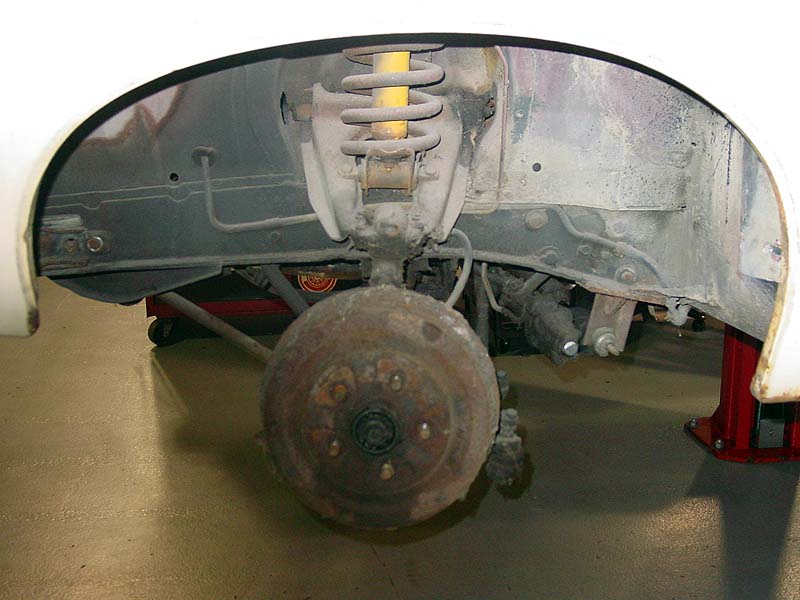
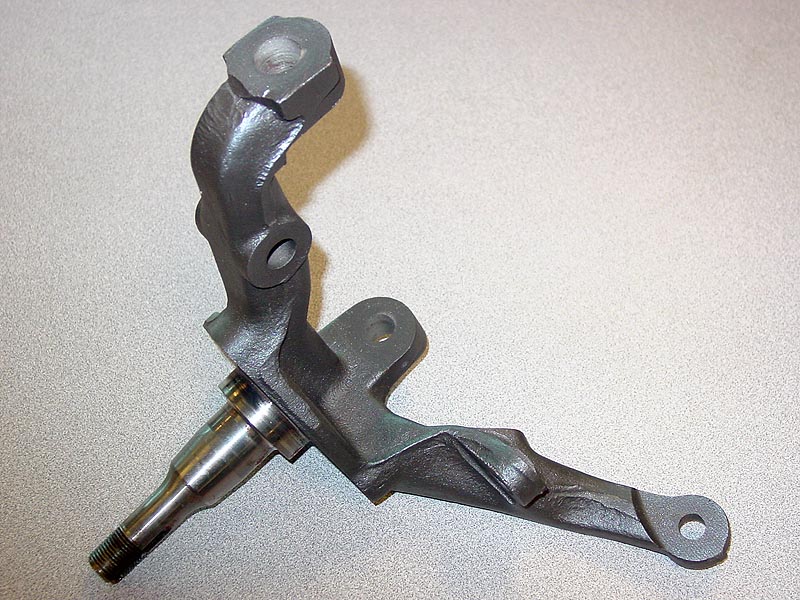
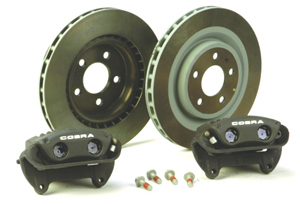
Both Torinos will be equipped with modern SVT Cobra PBR
Calipers and 13" Brembo rotors. These will be mated
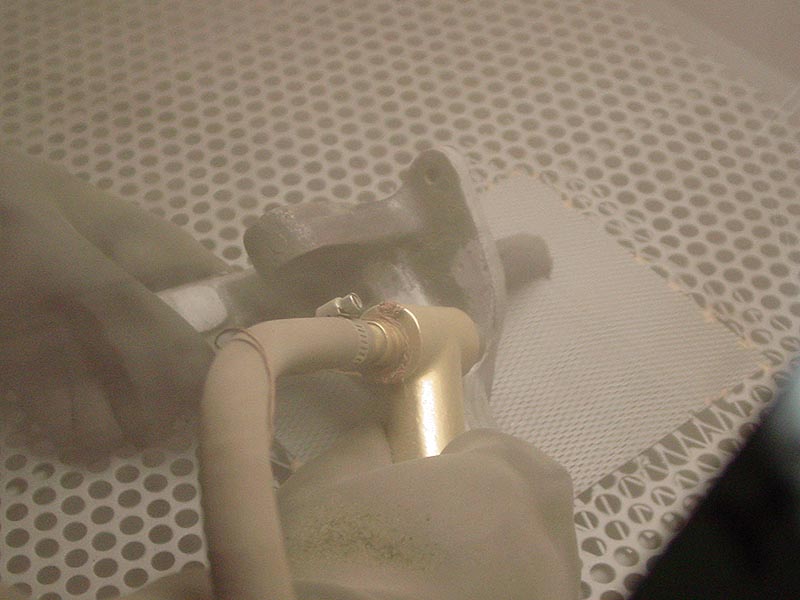
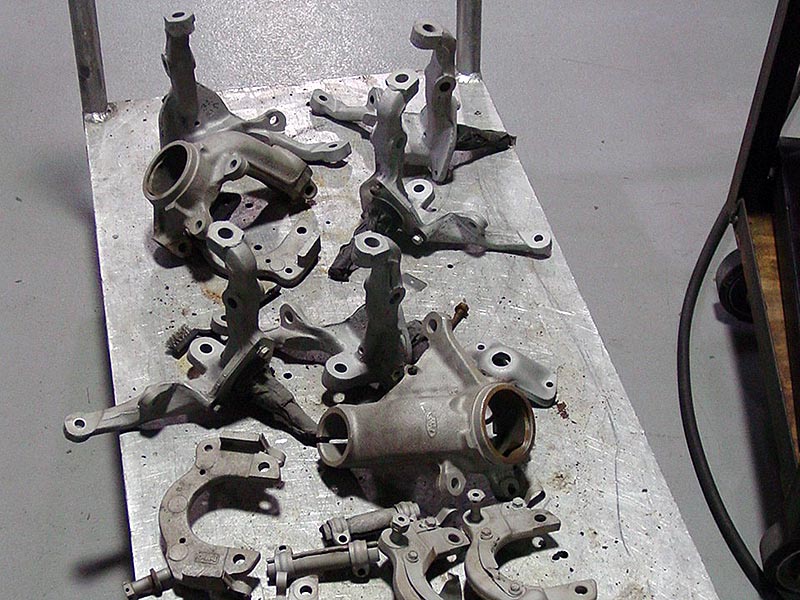
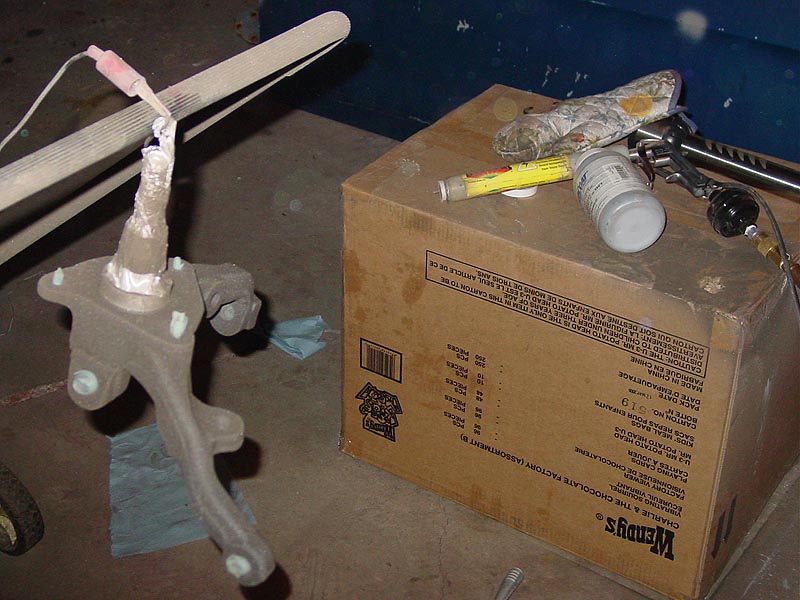
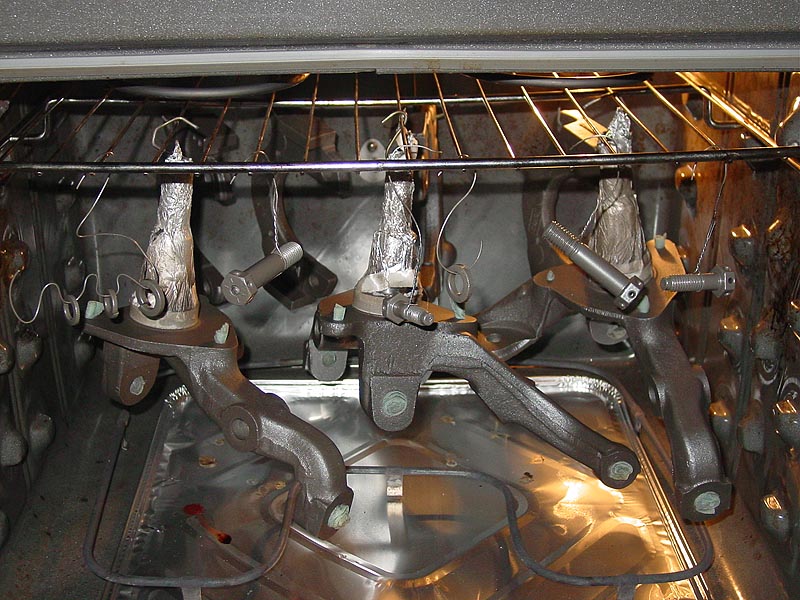
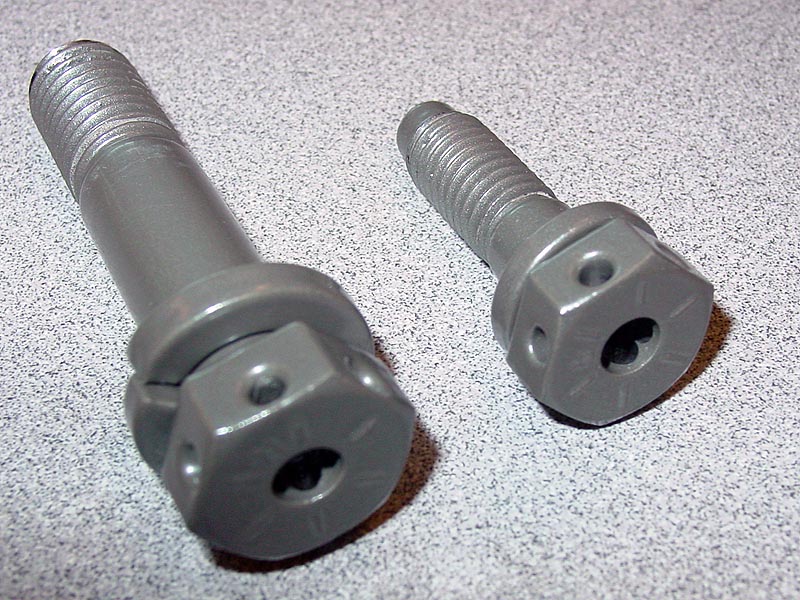
to stock SVT Cobra spindles and hubs. Earlier on we had acquired several full sets of
front disc brakes (see Parts Stashes),
so those will be fully restored and sold as conversion kits on
Ebay to fund the modern brake setup (see below). If anyone is
interested in these, please email us before they are gone.
In order to fit the DOHC motor, we have also decided to run an SVT Cobra Hydroboost
system.
Should package nicely and give excellent performance.
Since all of this was designed as a package, seems only natural
to use it as well. An SSBC proportioning valve will be used to keep things in balance.
This system is in the early stages, so more to come.
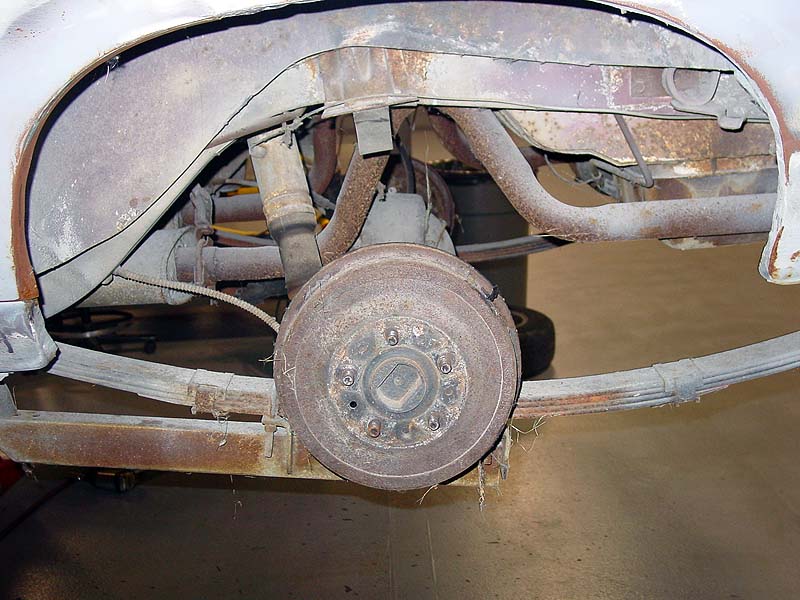
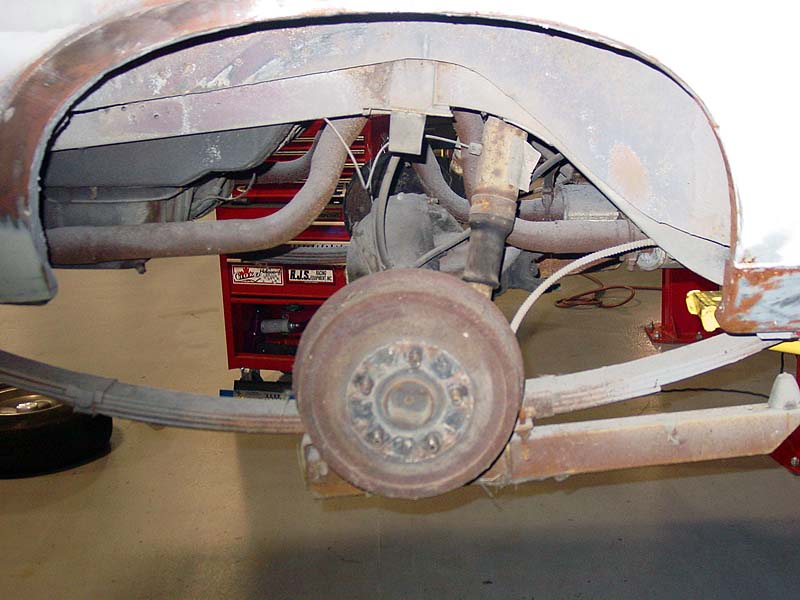
The reasoning behind the rear brakes is the same as the
fronts. Out with the old (drum) and in with the new
(disc). Since the IRS already has disc brakes on it, this
is an easy one. Rear brakes have 11.65" rotors.
The
cars will run Carbotech AX6 brake pads which are the perfect all
purpose pad - you get what you pay for. Excellent track
performance for hard braking (with very little fade even under
hard stops), but tame enough for the street. If you ever
try regular "street" pads on the track, you will know just how
bad they are when you try and stop for the first time after
getting the brakes hot. Just have to get used to the
excessive noise and brake dust that comes along with having
excellent brakes.
Stainless steel
lines from Goodridge will be used at all 4 corners. This part is easy, as
you can just buy off the shelf current Mustang brake hoses here. Top this
off with Russell Speed Bleeders, and the package is complete.
The parking brake will be the only interesting one here.
This will likely turn out to be a combination of several cars to
get the overall lengths to work. The front line will be a
stock Torino one, so it will work with the foot pedal, and the
rears will be from a 2004 Cobra. The intermadiate will
need to be a custom one.
Custom
brake ducting will also be made up for the track for the front
brakes.
|