Front Braking System

Overview / Front Suspension / Rear Suspension / Sway Bars / Steering / Rear Brakes

The modern automobile drum brake was a major advancement when in invented in 1902 by Louis Renault.  In the mid 30's they progressed to being operated by hydraulic pressure as they have been operated since.  Pulling ahead to 2006, drum brakes and asbestos lined shoes just won't cut it. 


Both Torinos will be be run hard at the racetrack during on track events. Because of that, we will be running heavy duty braking systems that will handle the greater amount of heat and stopping power that is required during such events.

Both cars are equipped with Roush/Alcon front rotors, calipers, mounts and lines.  The Alcon calipers are 4 piston in design and use street/track pads. The stock rubber flex hoses are also replaced with stainless steel Goodridge lines to give a firmer pedal. The 14" rotors are directional units with internal cooling vents and have slots on the front and rear faces to help gasses generated during braking to escape easier. Custom brake ducting will be run from the front bumper to the brakes to keep things as cool as possible.

The brakes use hydraulic braking assistance though an SVT Cobra Hydroboost system and also run through the stock Cobra ABS braking system. A Cobra master cylinder is also used. A Wilwood adjustable proportioning valve will be used to keep things in balance.  ATE performance DOT4 brake fluid is used.


Georgia Torino

Texas Torino


Coming Soon


3/6/09 - Well.. we typically run on a tight budget and hate to buy anything new.. but we had to make an exception. We found this set (technically 2 sets I guess) of Roush Alcon brakes at a great price on clearance. I just had to have them. The calipers and rotors and made by Alcon, and the misc hardware and mounting brackets are made by Roush. This kit is made for the Roush Stage 3 Mustangs from 1999-2004 (SN95). The front rotors are 14" (compared to the 13" Cobras) The calipers are 4 piston with race/track pads. Can't wait to see how these work. The barely fit within the 18" FR500 wheels. I have had issues in the past with melting the dust boots on the Cobra brakes, so hopefully that problem will go away. How big are 14" rotors? They are the same size as the rims on a 1969 Camaro..


2/7/08: Both Torinos will be equipped with modern SVT Cobra PBR Calipers and 13" Brembo rotors.  Custom aluminum adapter brackets will be fabricated to be used with the standard drum brake spindles with disc brake hubs.  Earlier on we had acquired several full sets of front disc brakes (see Parts Stashes), so those will be fully restored and sold as conversion kits on Ebay to fund the modern brake setup. 

Here is the starting point for this project.  Not very exciting here - two base drum brake assemblies... more to come soon.  Dirty right now, but not a whole lot of rust - this will make this a more pleasurable experience.


OEM Disc Brake Restoration


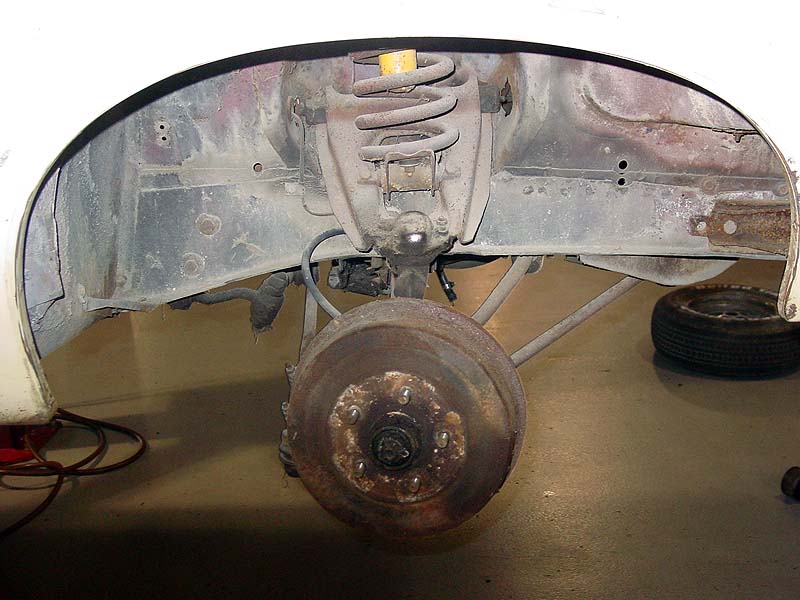
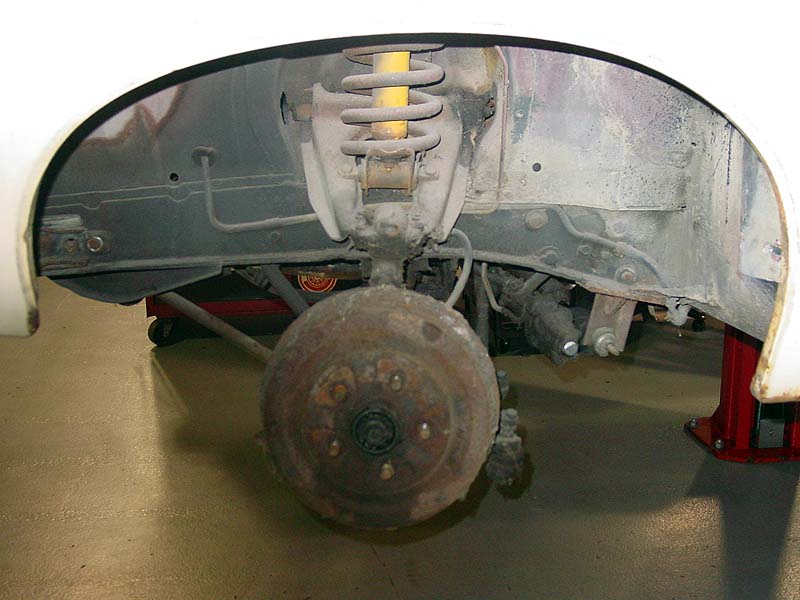
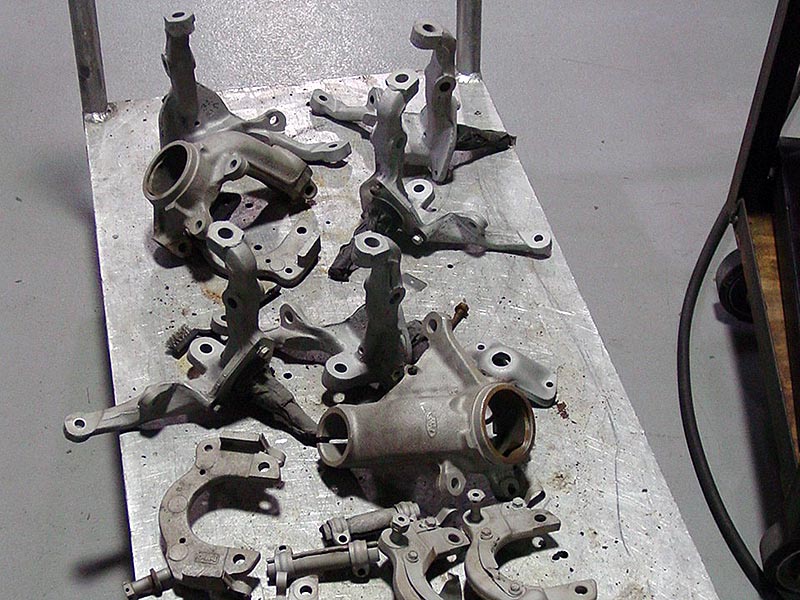
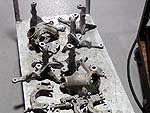
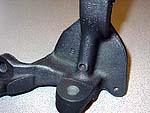
n the meantime, here is the process of restoring 3 sets of front disc brakes simultaneously.  Since these parts all had 35+ years of grease etc on them, there first step was to pressure wash them to get most of the sludge off them.  Then came the disassembly (after soaking all of the joints with penetrating oil for an hour or two - make sure you are in a patient mood for this step).  All of the old control arms, ball joints etc are not really good for anything with all of the rust and pitting on them. 

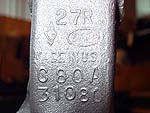
After that, all the parts are bead blasted to give a good rust free base for powdercoating.  Once all of the parts are done, they are cleaned thoroughly using lacquer thinner and left to dry.


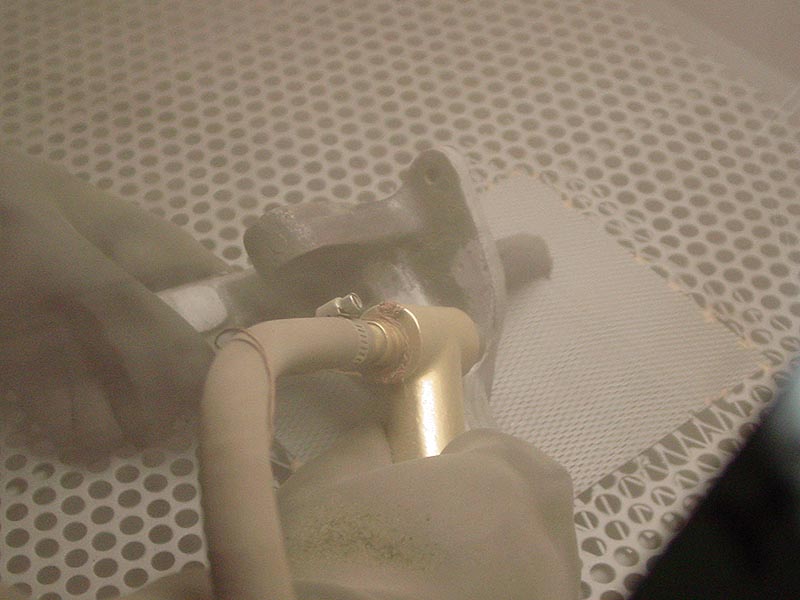
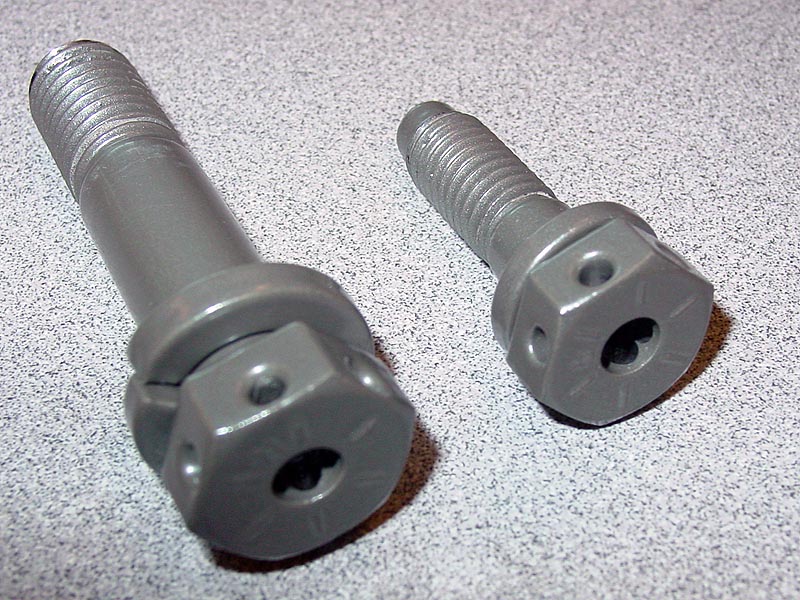
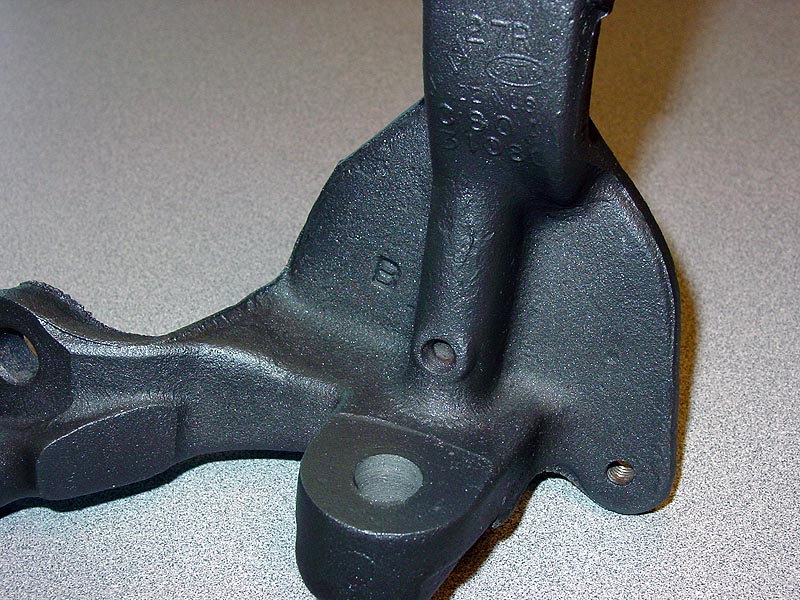
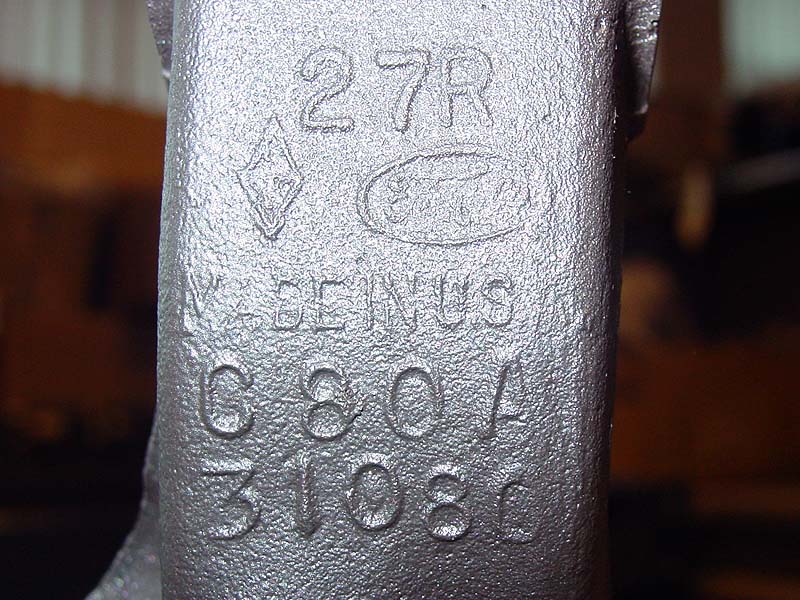
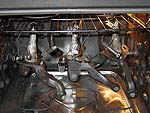
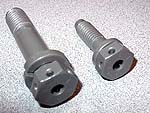
Next step come the masking for powdercoating.  Any parts with a machined critical surface (spindle, bolts holes etc.) are masked off so they remain natural, otherwise the holes will need to be tapped out.  After this step, they are ready for powdercoating with Eastwood's HotCoat 
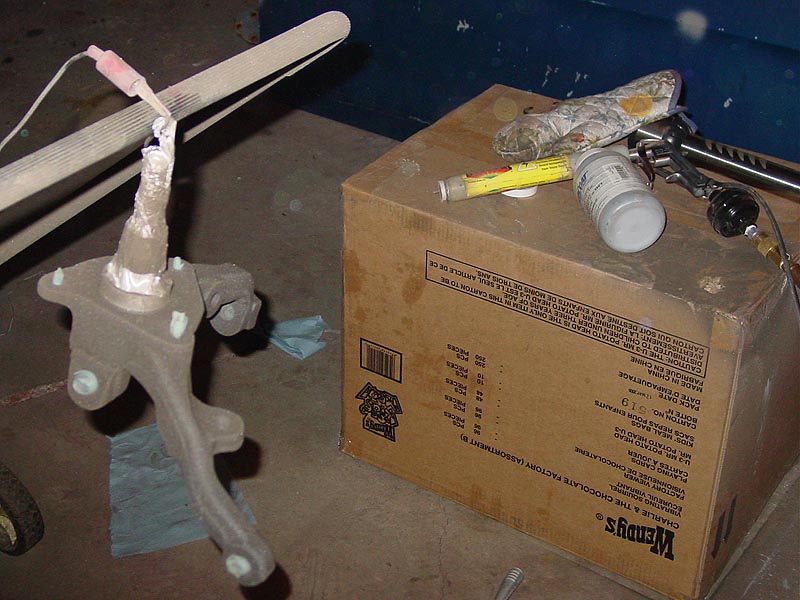
system.  Since the parts are made of cast iron, an epoxy "primer" powdercoat is used to seal and protect.  After this point they are ready for the 
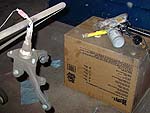
final color coat.  Note the complex setup using a lawnmower handle as a hanger and a Wendy's box as a table top.  The 
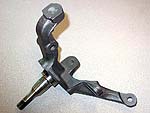
final color used is cast iron which looks exactly like a cast 
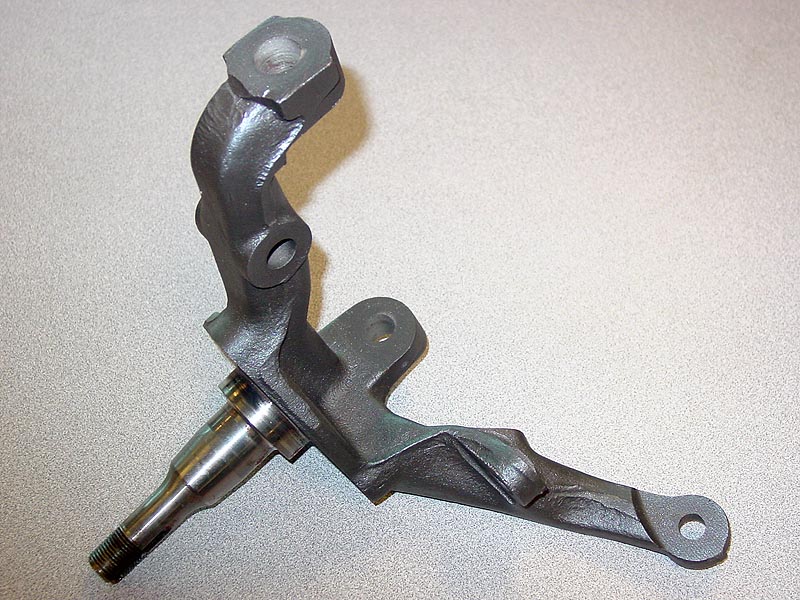
iron part as expected.  After this, the parts are put in the oven for their final 25 minute heat/cure cycle.  As you can see the finish is excellent and is very durable on top of that.  The results looks just as good or better from any professional shop.  As soon as they cool down, they are ready to bolt onto the car - easy as that.


Copyright 2006 - TwinTorino.com - All Rights Reserved